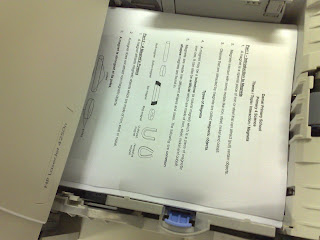
Given the amount of paperwork that is to be printed out, have you ever wondered why your files get thicker and thicker?
There is one way to minimise the space taken up by all the printouts (but of course the best way is still not to print out the unnecessary documents) i.e. to print double-sided. Our school printers do not allow automatic double-sided printing, but with just a little more effort on your part, you will be able to save the space needed for your documents and best of all, help in saving the environment by saving paper. And it's easy!
The instructions are as follow:
Method 1: Odd and even pages printing
- Go to "Print" and you will be able to see the print screen as shown below.
- Select "Print: Odd pages" as indicated in the diagram. Click "Ok".
- Once your pages have been printed out, place the printed pages back and repeat steps 1 and 2, this time, select "Print: Even pages"
And you are done!
Method 2: Manual Duplex Printing
- Go to "Print" and you will see the same pop-out as below.
- Tick "Manual Duplex" as shown in the diagram below. Click "Ok".
- You will then see this pop-out on your screen.
- Once your printing has been completed, place it back into the paper tray and click "Ok" as indicated in the pop-out.
- Collect your double-sided printing and you are done!
How to place the paper:
Insert your papers accordingly as indicated below.
Landscape Printing
The printed page should be placed upwards, with the heading on the left side of the printer.

Portrait Printing
The printed page should be placed upwards, with the heading facing you.


No comments:
Post a Comment